What are Menu Badges?
Menu item badges are perfect for highlighting specific items on a menu. For example, you can add small badges that say “New,” “Bestseller,” “Sale,” and more. These badges draw attention to particular items, making them stand out and enticing customers to explore them.
Step 1
Getting started
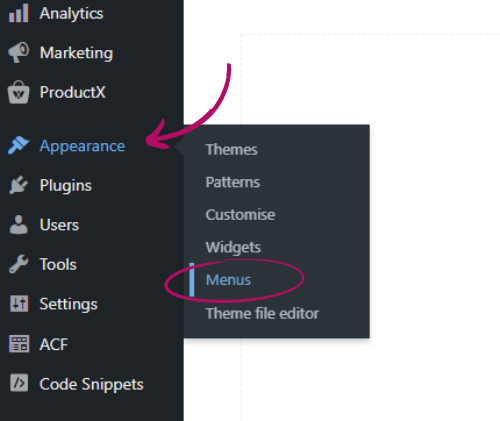
Navigate to Appearance > Menus using the left-hand sidebar.
Step 2
Select your menu
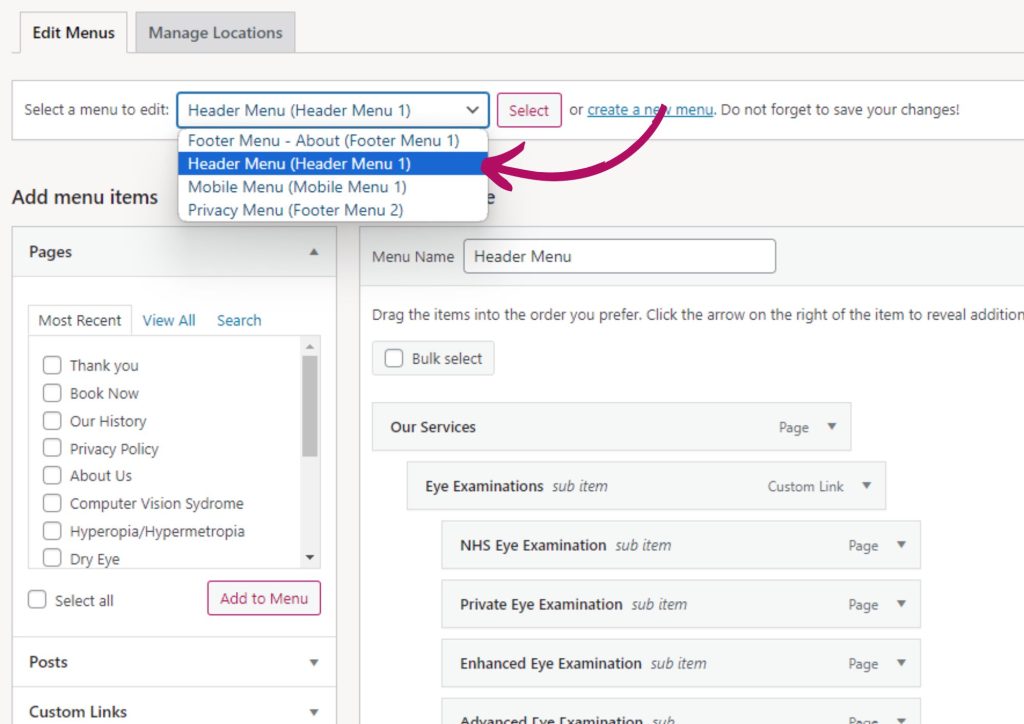
You may have multiple menus, such as Header, Mobile, and Footer menus. Ensure you select the one to which you want to add the badge(s). You can do this using the dropdown menu labeled “Select a menu to edit.”
Step 3
Selecting a location for your badge
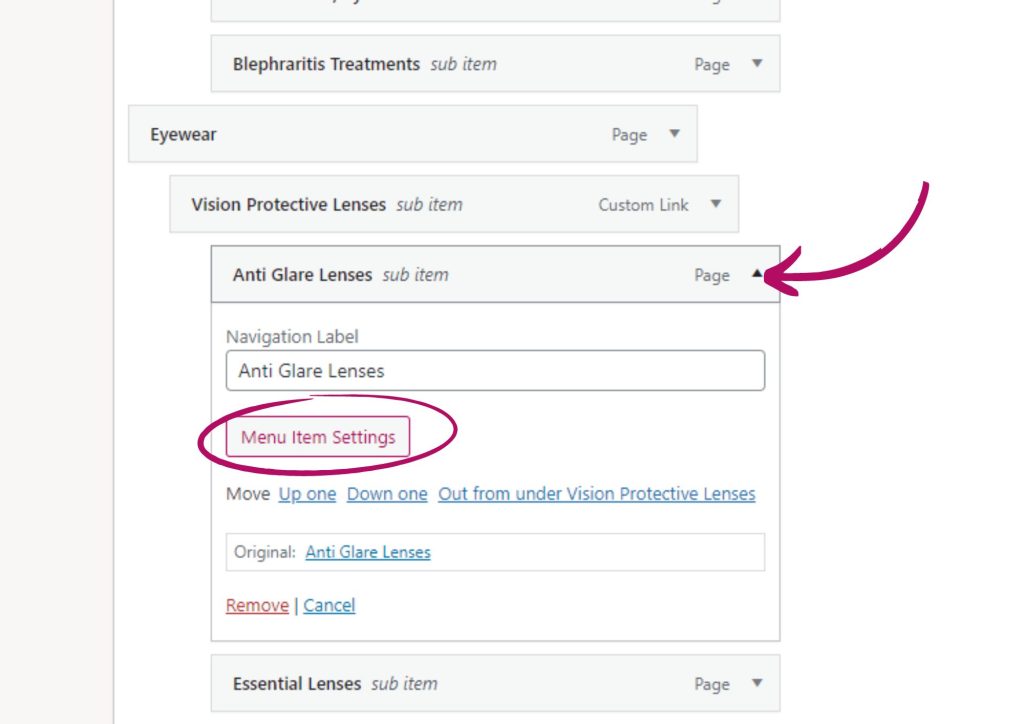
Navigate to the menu item to which you want to add a badge. Click the small arrow on the right side of the item to expand its options. Then, click the “Menu Item Settings” button.
Step 4
Create your badge
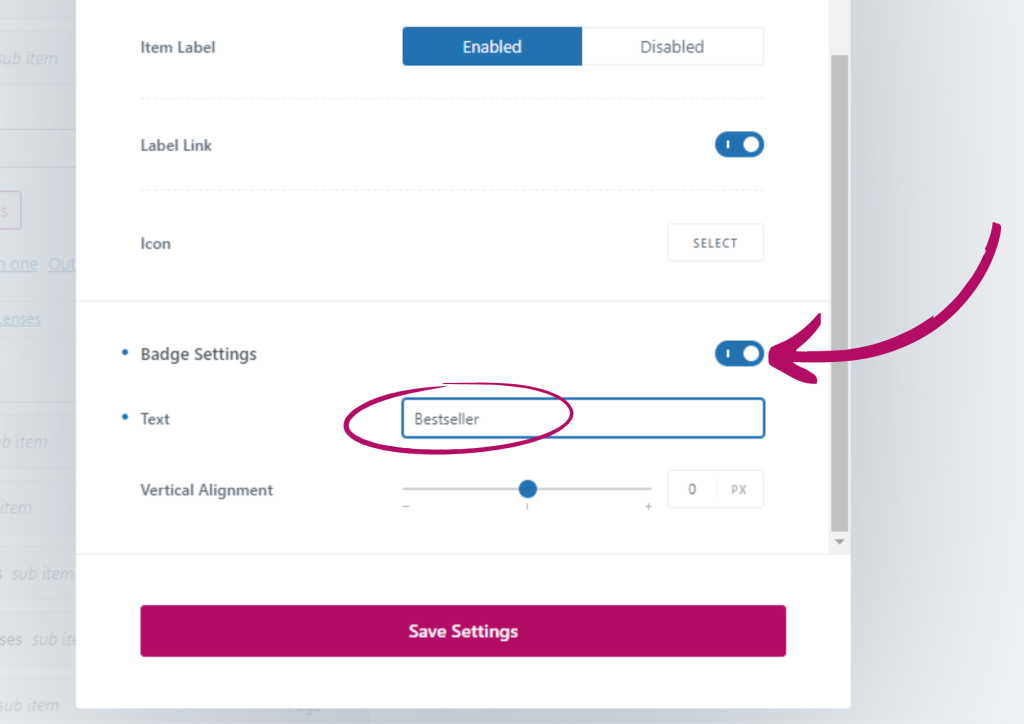
A pop-up menu will appear with various options. Scroll to the bottom until you see the toggle option under “Badge Settings.” Turn this toggle on; it should turn blue and reveal additional options.
In the “Text” box, enter the word you want the badge to display. For example, you can write “Bestseller.”
To change the color of the badge, such as making it red for a “Sale,” scroll to the top of the pop-up menu and click on the “Design” tab. Here, you will find an option to select the badge color.
Create your badge 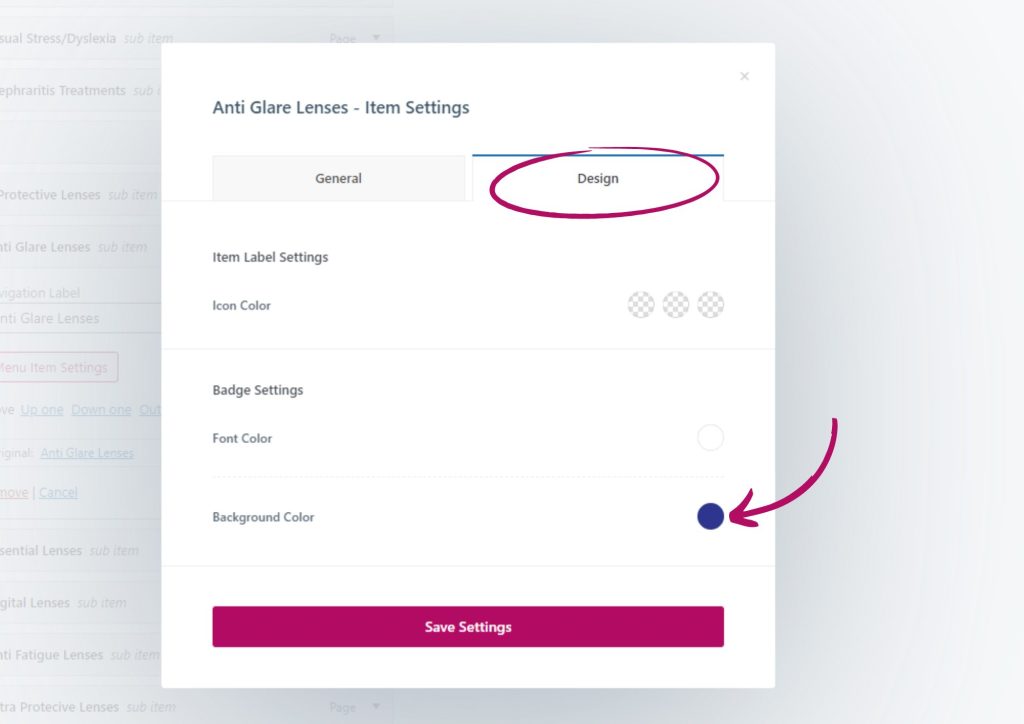
Change the badge colour
Step 5
Once you’ve made your changes, click the “Save Settings” button on the pop-up menu, then close the pop-up by clicking the “x.”
Finally, click the “Save Menu” button on the main menu page. Your badge will now be visible on the front end of your website.
That’s it! You’re all set.