Step 1
You may want to change your website colours and fonts in the future.
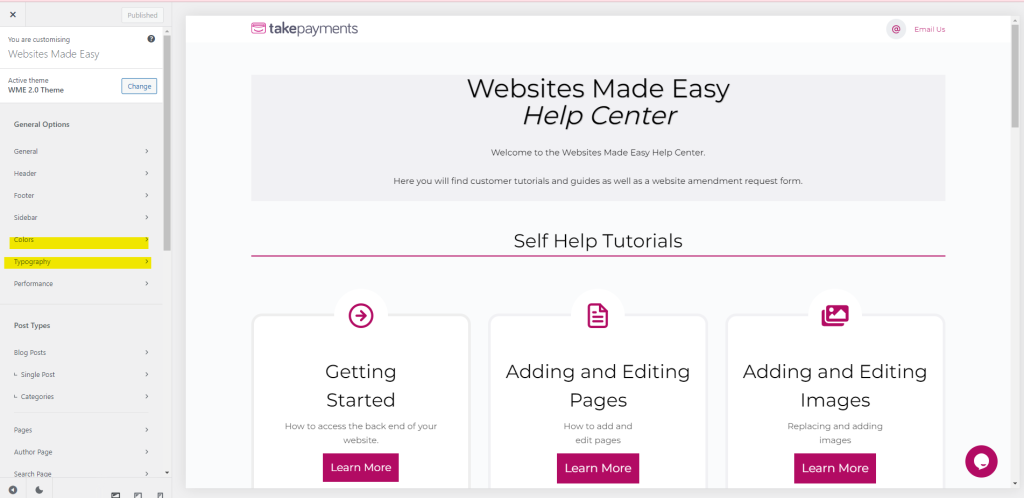
To do this, you want to head to the Appearance tab, and select Customise.
Step 2
You may want to change your website colours and fonts in the future.
To do this, you want to head to the Appearance tab, and select Customise.
You will be presented with a panel on the left hand side which has all the settings throughout the website. We will be focusing on the Colours and Typography tabs.
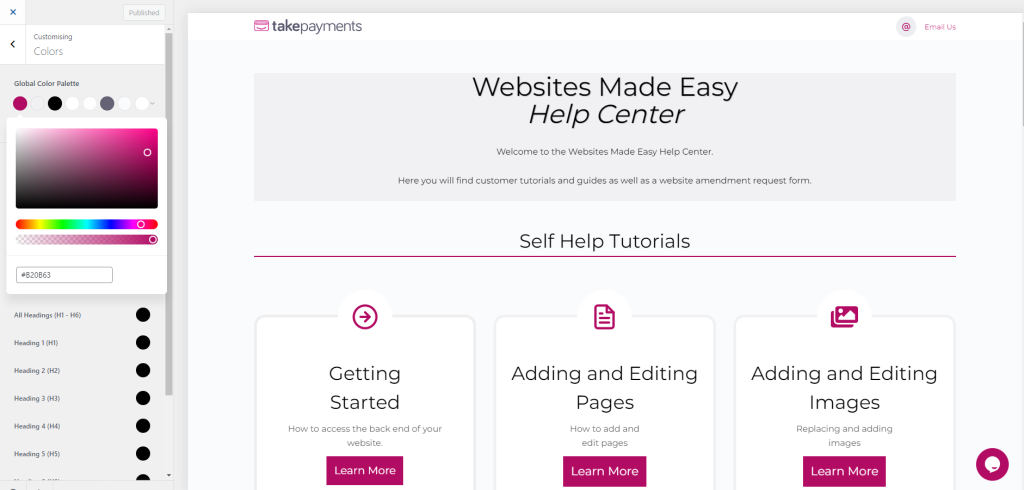
Step 3
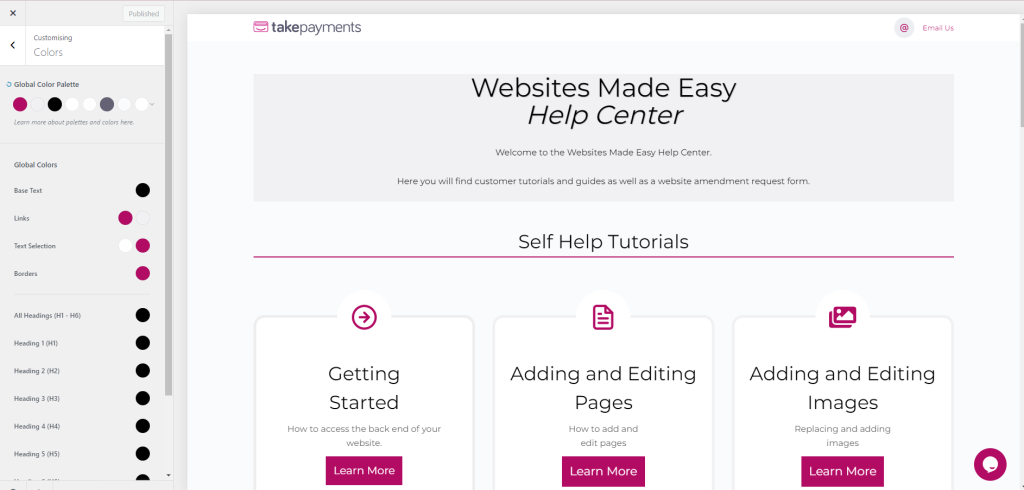
Select the colours tab. You will see “Global Colour Palette” which has the main colour palette that has been used throughout your website.
You can change any of these colours and they will update in real time.
Step 4
Select the colours tab. You will see “Global Colour Palette” which has the main colour palette that has been used throughout your website.
You can change any of these colours and they will update in real time.
Step 5
Once happy with your colour choices, you need to click Publish at the top of the sidebar.
Typography is pretty much the same. Select the tab and you will be presented with the options:
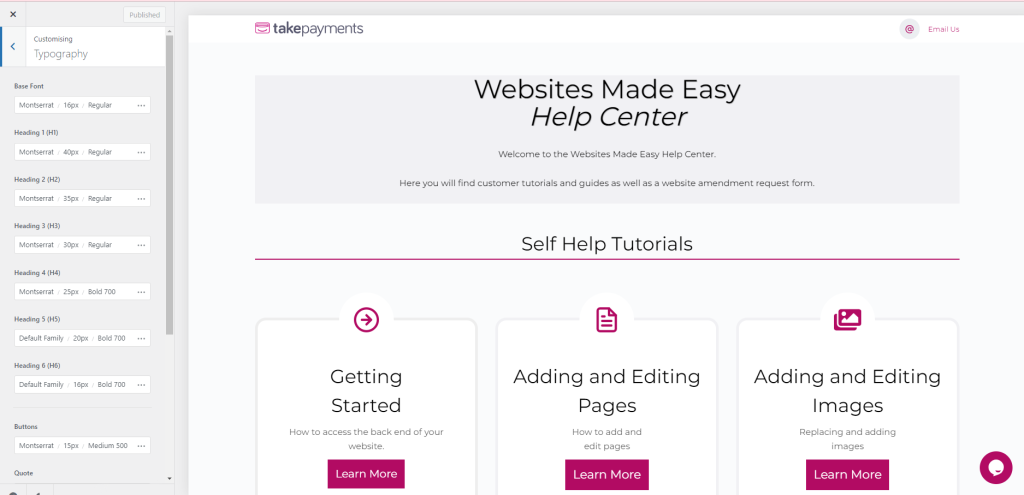
Step 6
The main typography options are your Base text which is the main text througout the site. Your Heading 1 (H1) is the main heading on each page. Your Heading 2 (H2) is the every other title on your website pages.
Once you have changed the font and you’re happy, again just click the Publish button at the top of the sidebar.