Step 1
Adding a new, simple product that doesn’t have any options is rather easy.
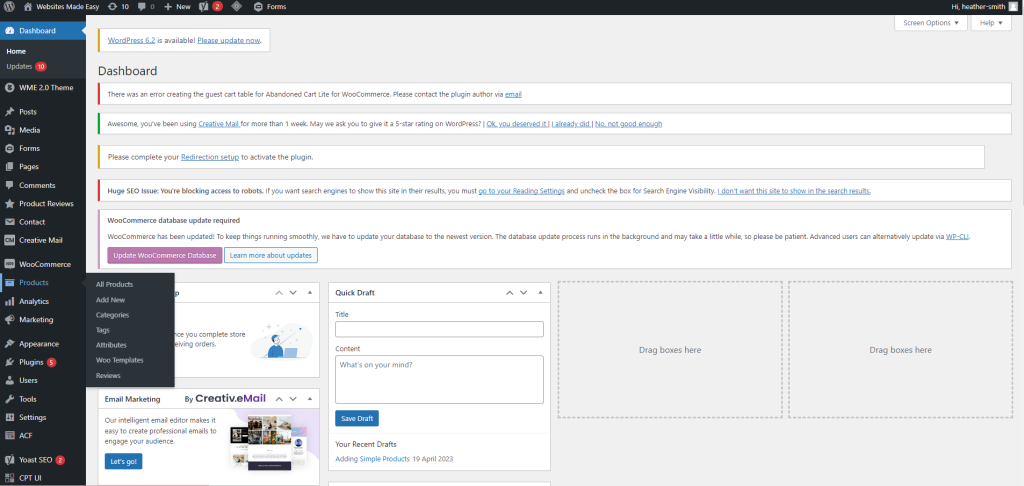
From the dashboard, on the left hand side, hover over Products and click Add New.
Step 2
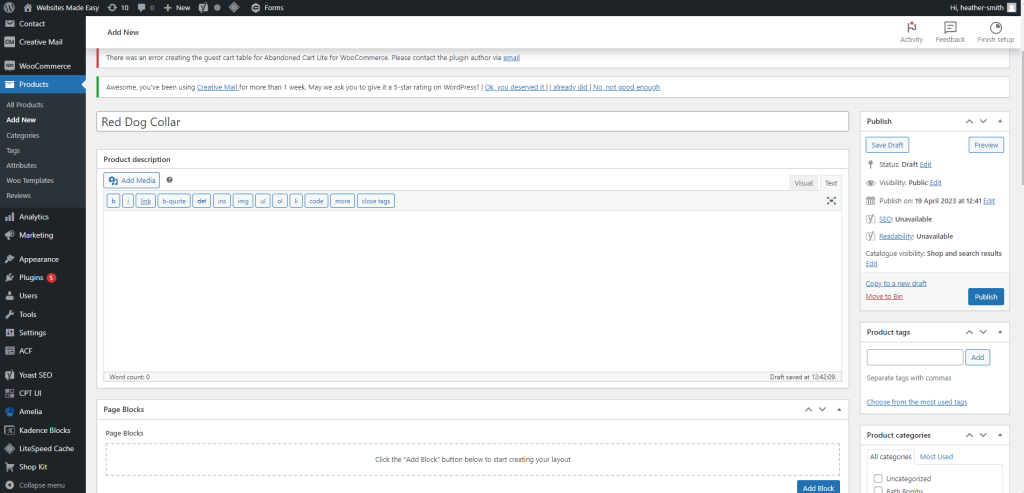
Start by adding your product name- make this as clear as you can ie: Red Dog Collar
Step 3
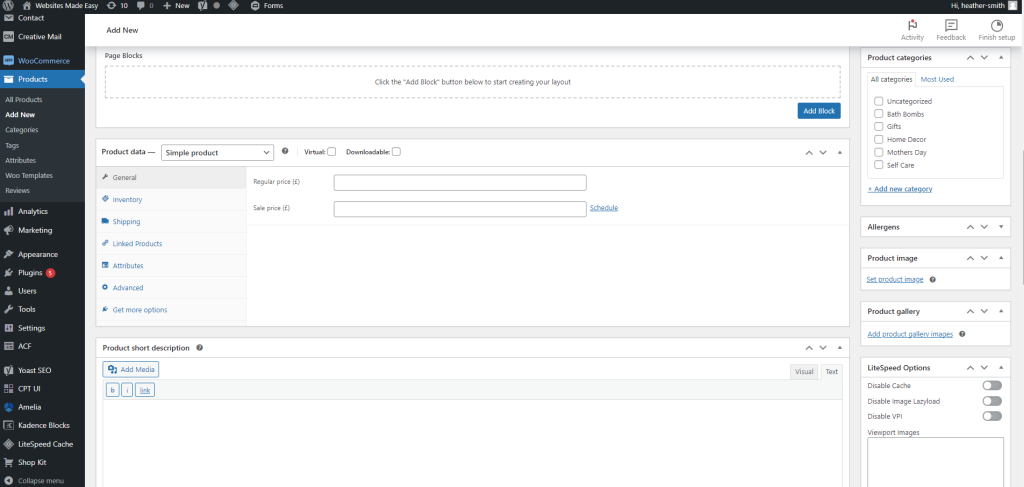
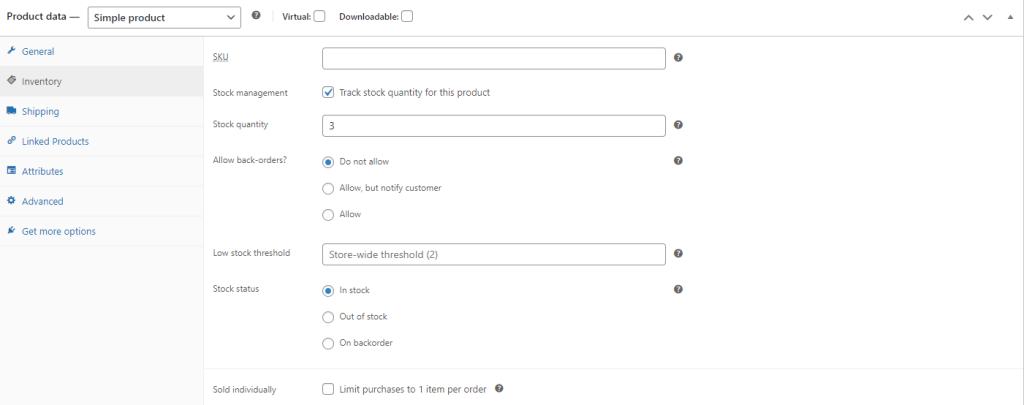
Scroll down to the product data block, here you will add Price, Inventory and Shipping information (weight)
Step 4
Inventory – tick the Stock Management box, enter your stock quantity. You can also allow for back orders and set the stock status.
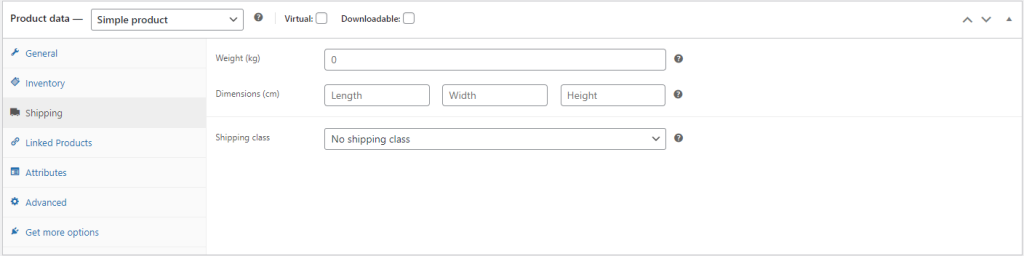
Step 5
Shipping – If your shipping goes by weight of the products, you will need to enter the weight of each product.
Step 6
You will need to add a description of your product, to do this, scroll past the Product Data until you see the Product Short Description box
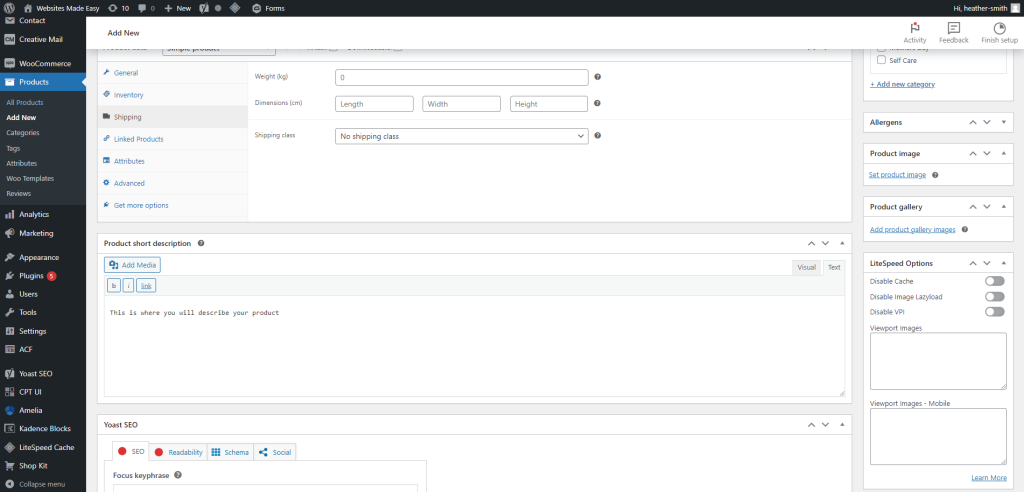
Step 7
Product Images- To add the image of your product, on the right hand side you will see “Product Image” and Product Gallery.

Step 8
Product Image is the main image that you want displayed first. Product Gallery is for other angles of your product.
Your product will then need to be assigned to a category. Your categories should already be listed on the right hand side, however if you need to add a new one, you can do this here too.

Step 9
Once you have added the product to the relevant category, added your images, description, price and title then you are ready to publish the product.
To publish the product, you will see a publish button at the top right hand side.