Step 1
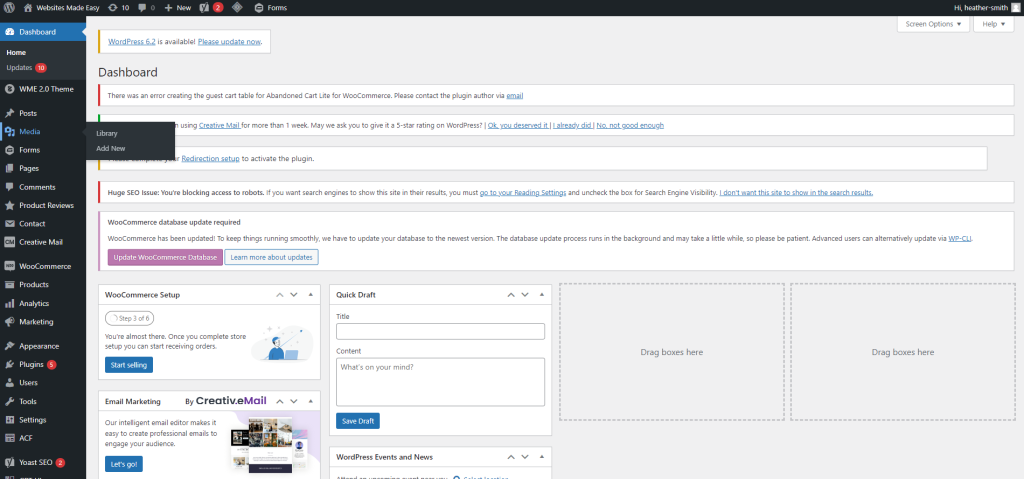
All images can be uploaded / found in the media library. The library is located on the left hand side of the dashboard under Posts
Step 2
When you select the Library, you will be taken to this page
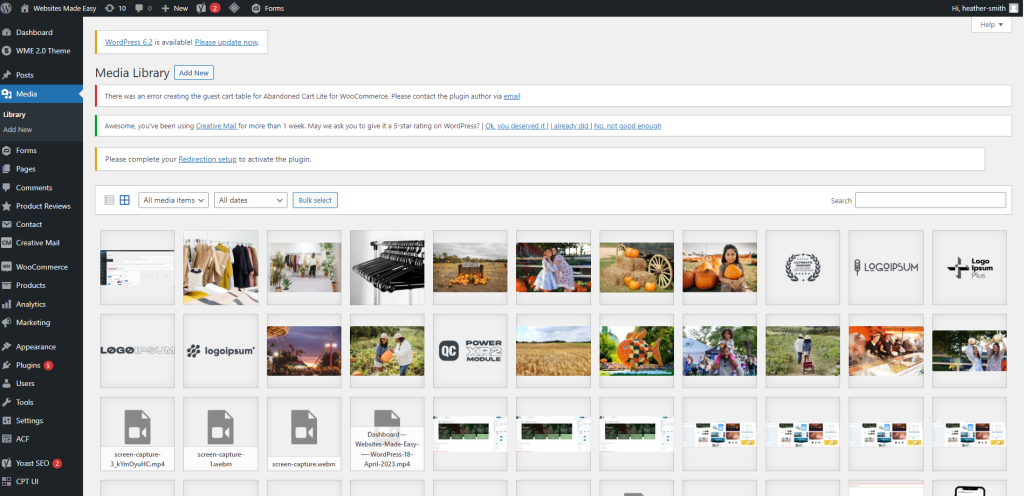
Step 3
Here you can see all of the images that have been uploaded to your website. At the top you will see a button called “Add New”.
Clicking this will open a box where you can drag and drop files or upload them

Step 4
You can also upload files whilst in any of your pages.
When in a page, you simply need to click the image you want to change. Now depending on what type of “Block” has been used, the way to change it will be slightly different.
If you select a block like this one:
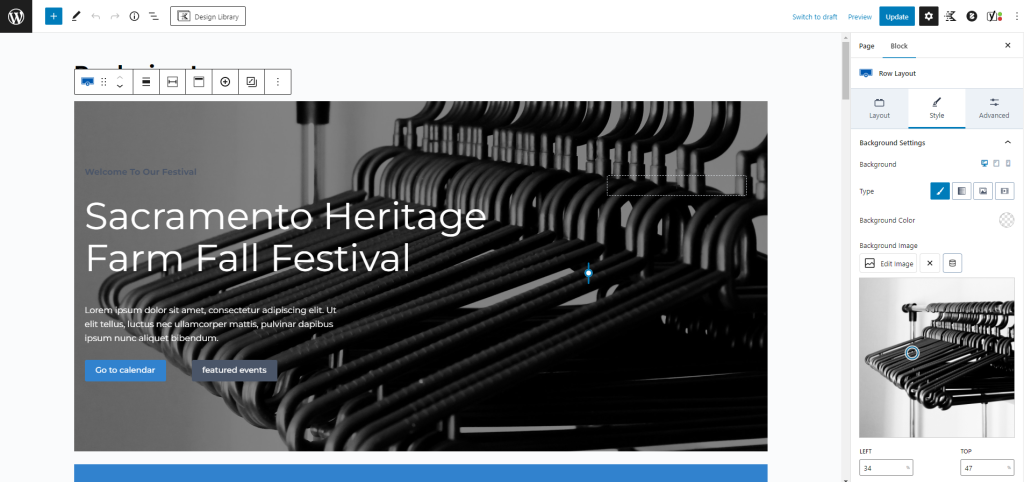
Step 5
You can also upload files whilst in any of your pages.
When in a page, you simply need to click the image you want to change. Now depending on what type of “Block” has been used, the way to change it will be slightly different.
If you select a block like this one:
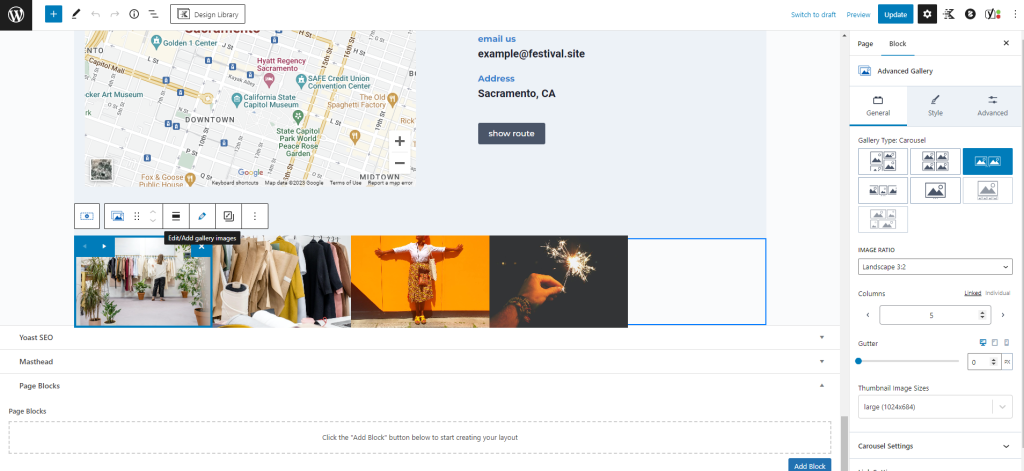
Step 6
If you were wanting to change these images however:
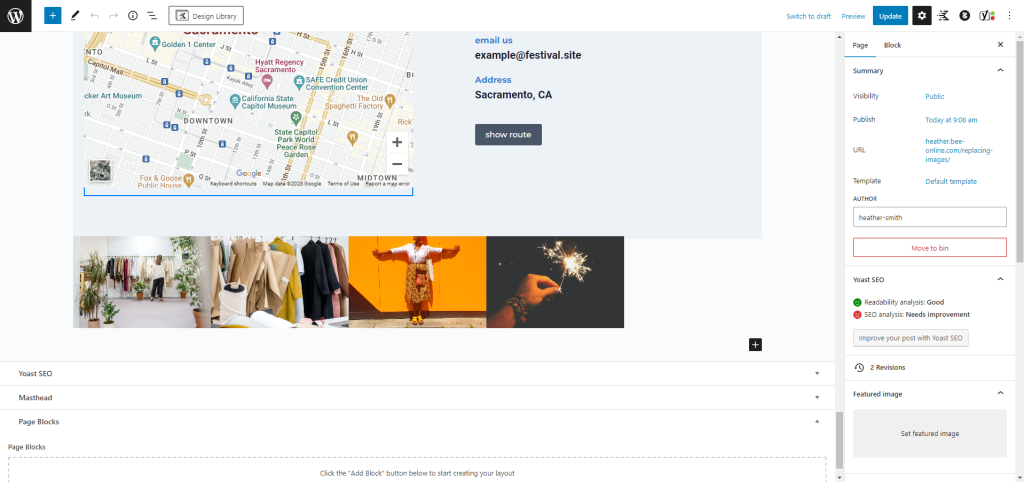
Step 7
You would need to select the block and click the Pencil icon
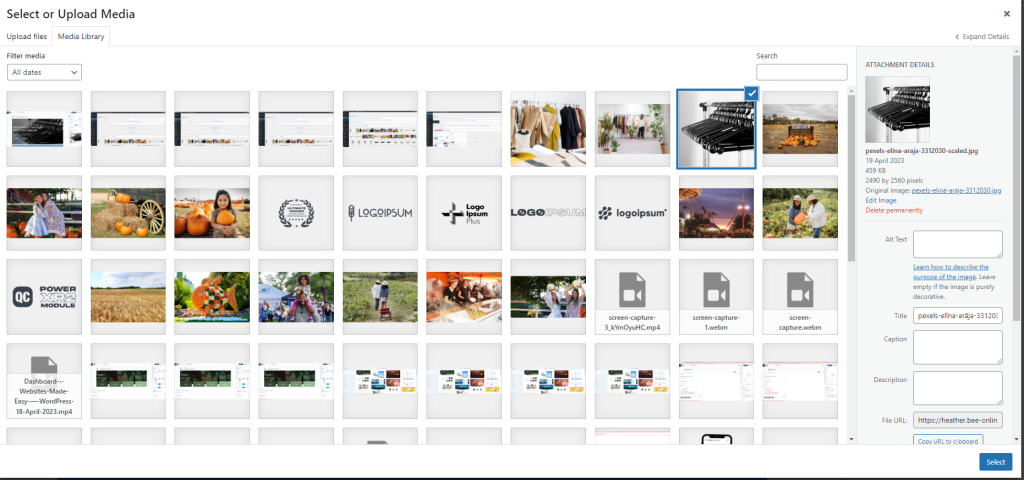
Step 8
This will open the media library again, but it will show you a Gallery that you can edit and create for this specific block
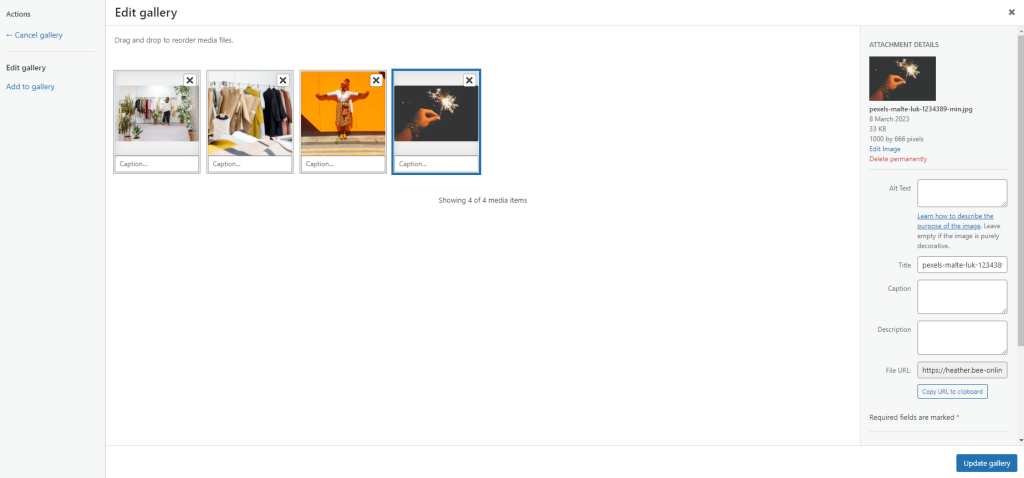
Step 9
Once selected and updated, all you need to do is click the “Update” button at the top right and the page will be updated.